
Bored with trivial gifts? Or maybe you have a small business and want to personalize your giveaways? Or you are just a creative person and would like to try something new?
In any case, dye sublimation printing is for you. With a little effort and creativity, you could make a lot of useful personalized gifts. And it is easy and fun!
Learn how to become a pro without leaving your home.
A quick guide in sublimation for beginners: what it is, what would you need, and what you can make. Read about sublimation for beginners: easy and fun!
Sublimation in a nutshell
So as this guide is about sublimation for beginners, let’s start from the beginning: what is dye sublimation printing?
It is a method for duplication of design in high-quality and full color onto blanks – different types of fabrics and materials – with the help of a printer, special ink, and paper.
What advantages does sublimation printing have over other methods of printing?
That’s a good question to ask because there are a lot of methods to transfer an image to a material such as heat transfer vinyl (or iron on vinyl), embroidery, screen printing, etc.
Special sublimation ink is transferred into the material and imprinted when high temperature and pressure are applied. Sublimation dye is absorbed permanently. That means that it won’t crack, peel, rub off, or wash away, as it could happen with e.g., heat transfer vinyl design.

Also, sublimation transfer won’t damage your material, as embroidery could. And it doesn’t require a lot of space for your printer, as it is necessary for screen printing equipment.
Another advantage of sublimation printing is its superior quality, compared to screen printing, for example. Screen printing has its limitation: it’s tricky to run through a screen with more than 6 colors. And this limits the number of possible designs and also influences the quality of the design. Whereas sublimation printers have no such limits.
But the biggest advantage of sublimation printing is its cost efficiency. And here is why: to go from a sublimation beginner to a pro would cost you less than a thousand dollars!
Check it out for yourself.
Sublimation for beginners: easy and fun!
As sublimation beginners, you may ask what to start with.
So, you would need:
- sublimation printer
- sublimation inks – e.g., Hiipoo ink
- sublimation papers
- heat press
- sublimation blanks – it could be almost everything: t-shirts, pillowcases, tote bags, mugs, mousepads, doormats, puzzles
- butcher paper, parchment paper, or Teflon sheets
- lint roller
- imagination to create your designs.
This is pretty much it. Now you are ready to start your sublimation journey.
Sublimation printer
As this guide is dedicated to sublimation for beginners, these two questions would come to your mind first.

Do I need a special printer for sublimation? No.
Of course, you could buy a special printer like a Sawgrass printer or Epson printer. But it would cost you over $700. It’s much easier and cheaper to convert a regular inkjet printer, like one of Epson’s printers, into a sublimation printer. For example, the Epson Ecotank printer uses correct pressure and is pretty affordable.
Can I use a regular printer for sublimation? Yes.
You absolutely can use a regular inkjet printer to print out your sublimation designs. Just remember same printer – same purpose. Do not use your converted sublimation printer as an ordinary printer for your everyday purposes. All you need to do to start working is add sublimation dyes to the printer’s ink cartridges.
Sublimation ink
Can I use regular ink? No.
In this type of printing are used special sublimation inks that turn into a gas and dye your sublimation blank, like t-shirts or mugs, when the heat is applied.
Note that you can’t use regular inkjet ink: it will leave residue on the ink heads and this could ruin your sublimation prints.
There are several manufacturers of inks: Cricut infusible ink, Sawgrass ink, and Hiipoo ink. Manufacturers have different lines of infusible ink, so make sure they will work with your sublimation printer.
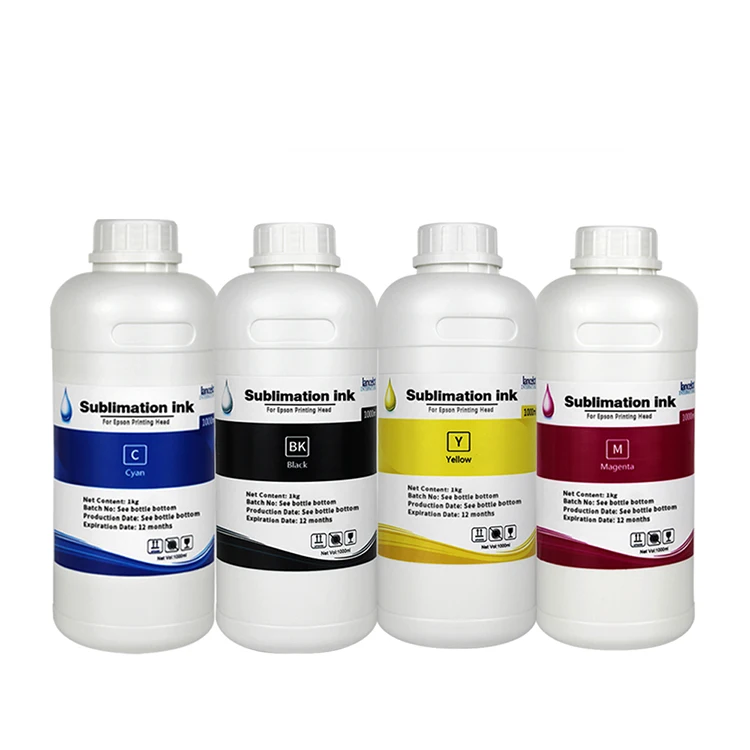
Sublimation ink goes in four different bottles. During transferring ink into ink tanks, be careful and use gloves – sublimation ink can stain your clothes and hands.
Where do I find ink tanks?
For example, in Epson Ecotank you may find them on the right side of the printer where cartridges are. You need to lift the top. Each cartridge is marked for the color of ink it will use. Just lift a lid of a cartridge and fill it up. Once sublimation ink is inside the cartridges, you are ready to start printing.
Sublimation paper

Can I use ordinary paper for sublimation printing? Unfortunately, no.
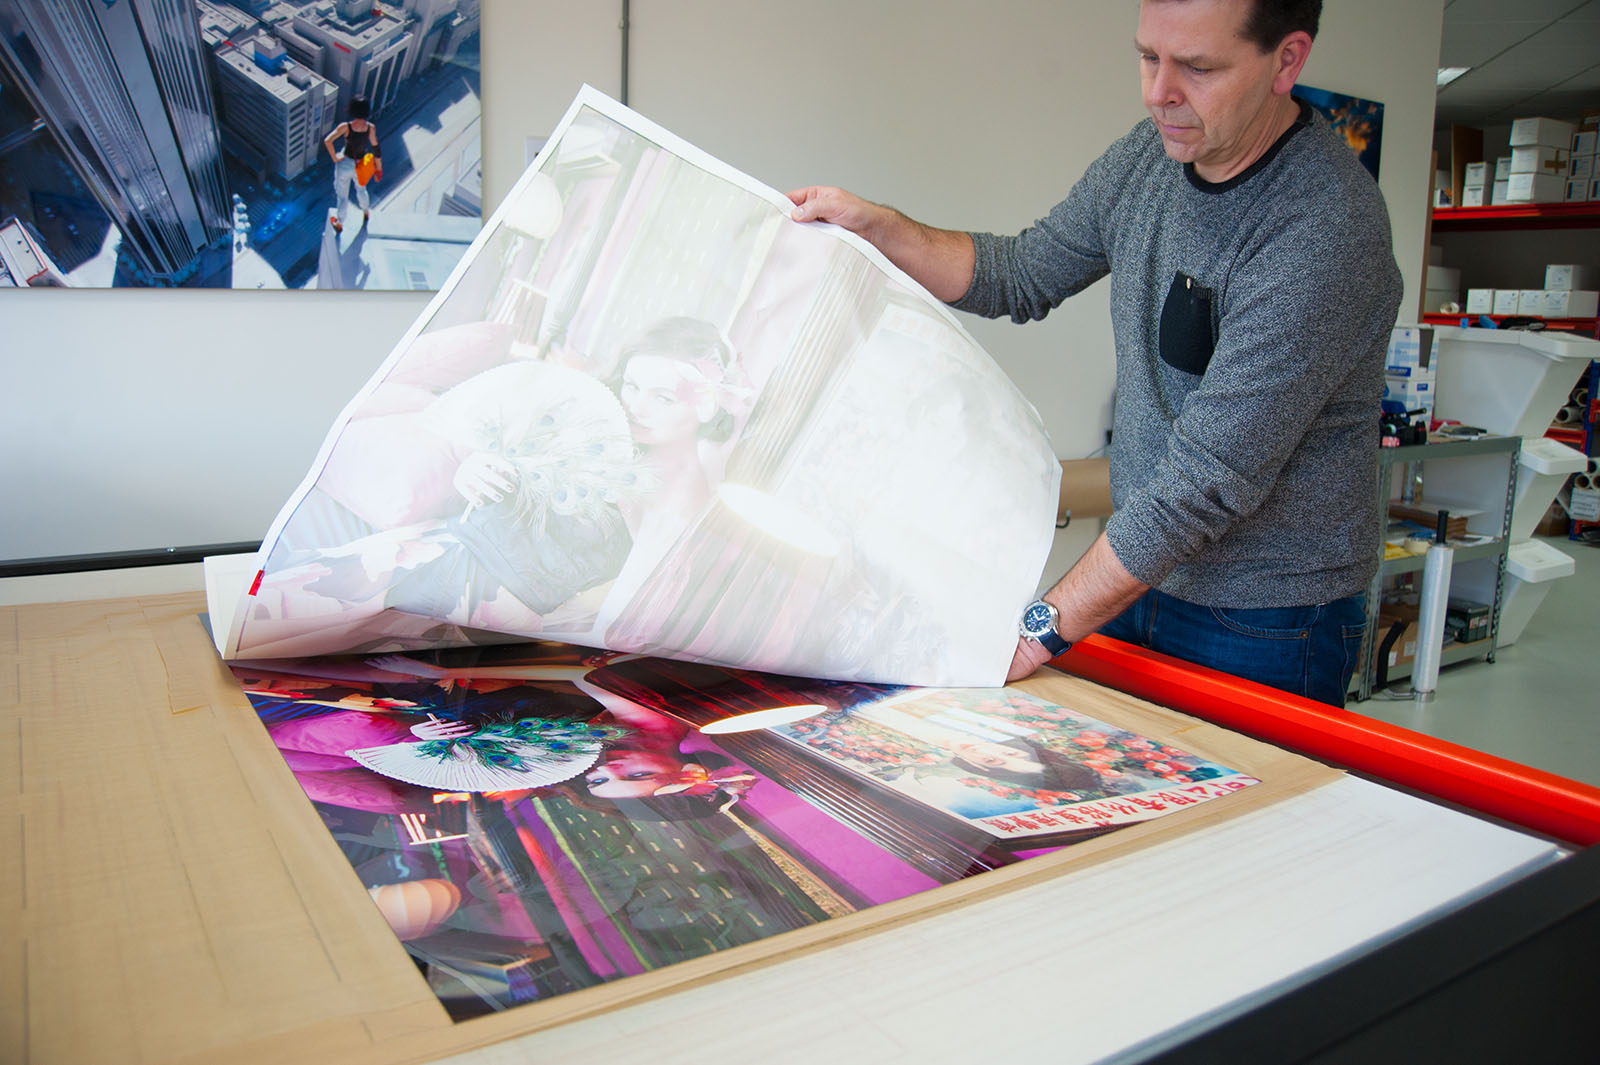
You would need a special paper for sublimation transfers. The point is that sublimation paper is coated, so it could hold the sublimation ink. And it is also resistant to the high temperatures that are used in heat presses for sublimation transfer.

Please remember, that image on paper, after it has been printed out, looks a little faded. Don’t worry. It will look more vivid on your blank after transfer.
Heat press
To transfer images from your sublimation paper onto blanks, you would need a heat press. For regular blanks, you can use a traditional heat press, like the Cricut machine. But of course, there are heat presses for more complicated blanks, like mugs: you could use a Cricut mug press.
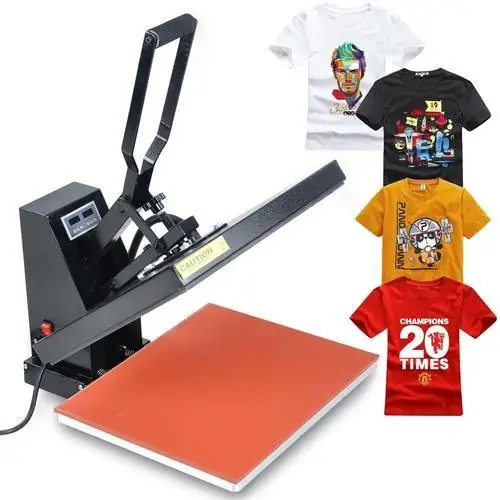
Unfortunately, you can’t use a regular heat source like regular hot iron. Make sure that your press meets your requirements of minimum size for your designs.
Before starting to work with your press, pre-heat it to 350° – 400 °F. But first, check with your paper what time and temperature settings are required. Usually, they are written on the back of the box.
Sublimation blanks
What material do you need for sublimation?

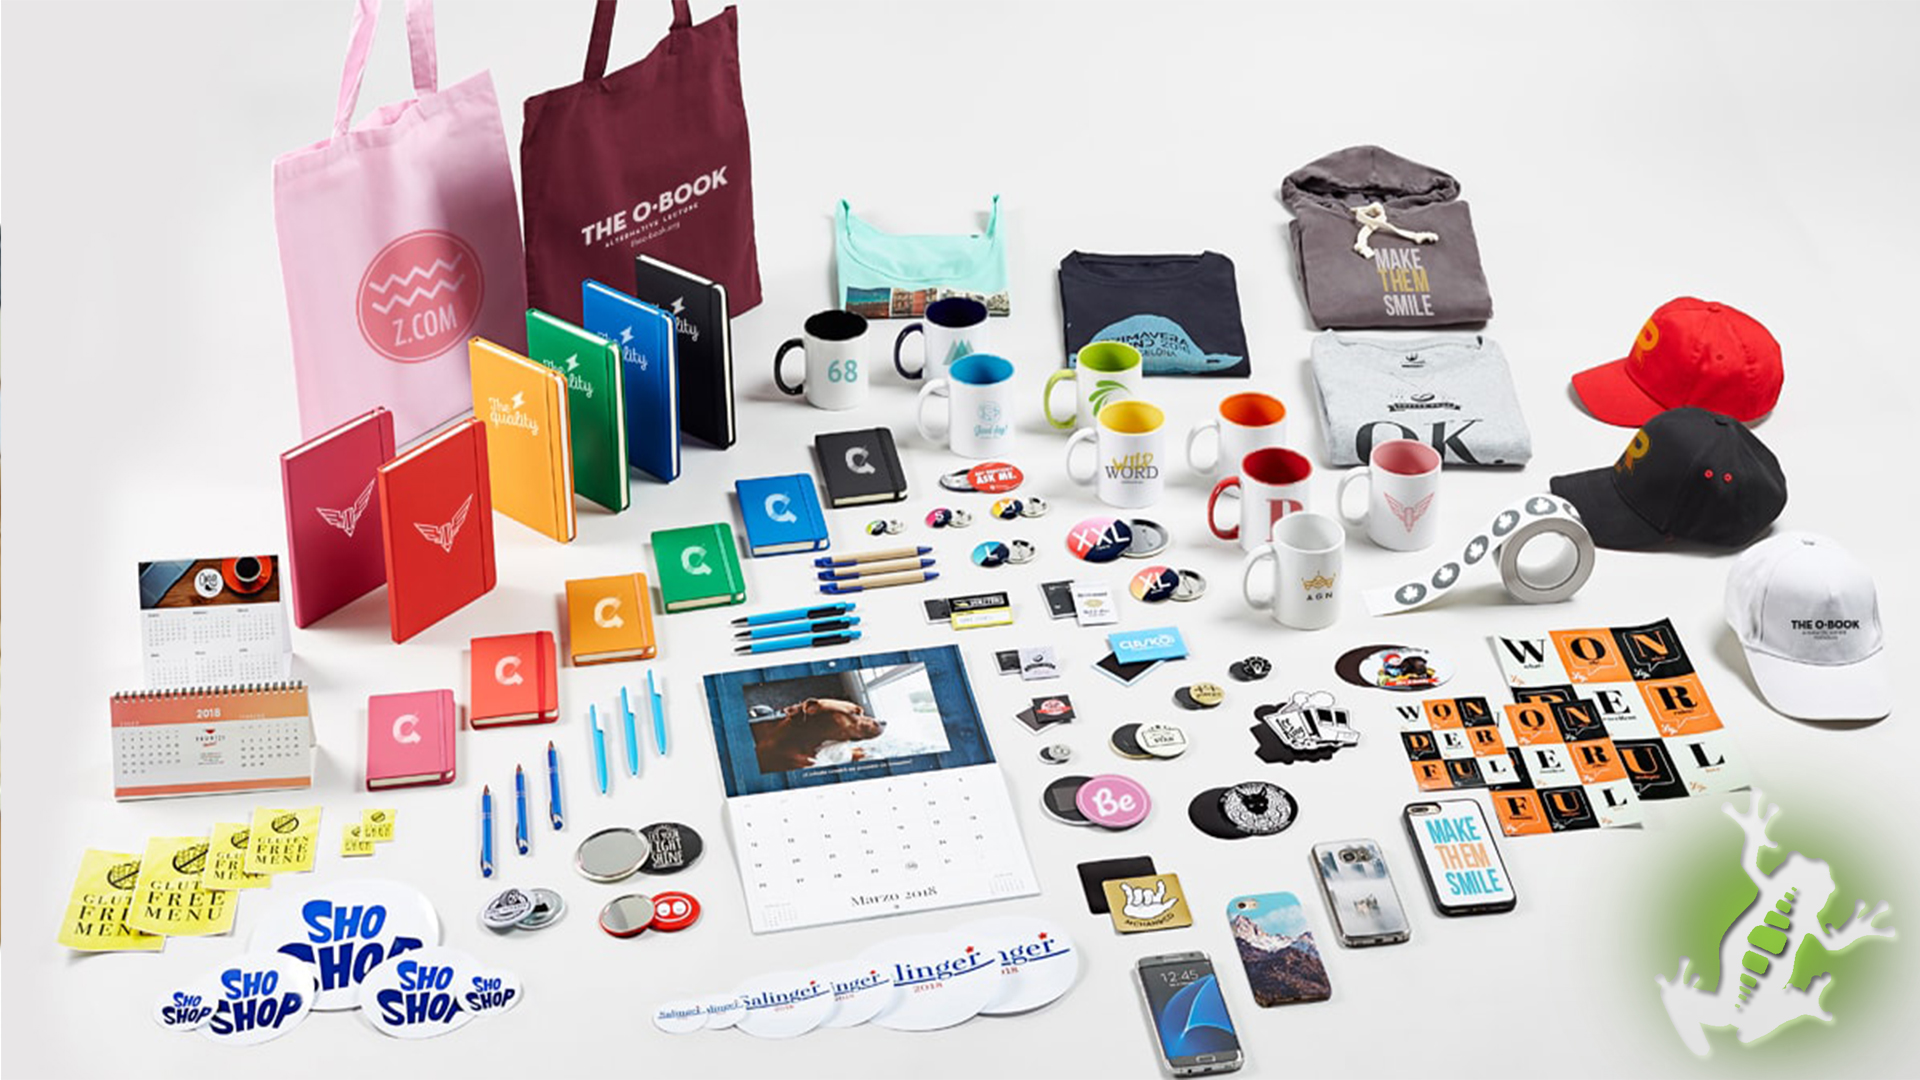
Almost everything will be good as long as it has a high polyester count, polyester coating, or some sort of sublimation coating. Your sublimation crafts could be t-shirts, pillowcases, tote bags, mugs, mousepads, doormats, puzzles, and so on.
Why is sublimation coating so important?
Dye sublimation works when sublimation ink binds with polymers in the coating after a heat press is applied. And then inks stay safely inside sublimation materials. They won’t wash away, wear off, or be rubbed off as could happen with the iron on vinyl transferring images.

Before transferring images, make sure that your blank is made of polyester fabrics. Don’t use a 100% cotton shirt. But a poly-cotton blend will work well. As the sublimation dye will bond only to the polyester, your transferred image will fade. The high polyester count guarantees you more vivid colors.
Why can’t I use dark-colored garments?
Because you won’t see the transferred image. Your printer can’t print with white ink. And any other infusible ink won’t be or would be barely visible on your dark-colored garments. This is why only white or lightly colored blanks and garments are used.
Sublimation design
Now we finally got to the most fun part of this sublimation for beginners guide – creating your first sublimation projects.

So, what could you use for your first sublimation print? Literally everything!
You could transfer images or photos of any quality, and complexity, without limits of colors – all these superior sublimation to screen printing. Any texts or designs suit well for sublimation. It could be your own photos or free sublimation designs from the Internet.

So, how to create designs?


First of all, you would need printer software. You could use your printing software available, like Photoshop, or Cricut design space to create your sublimation project.
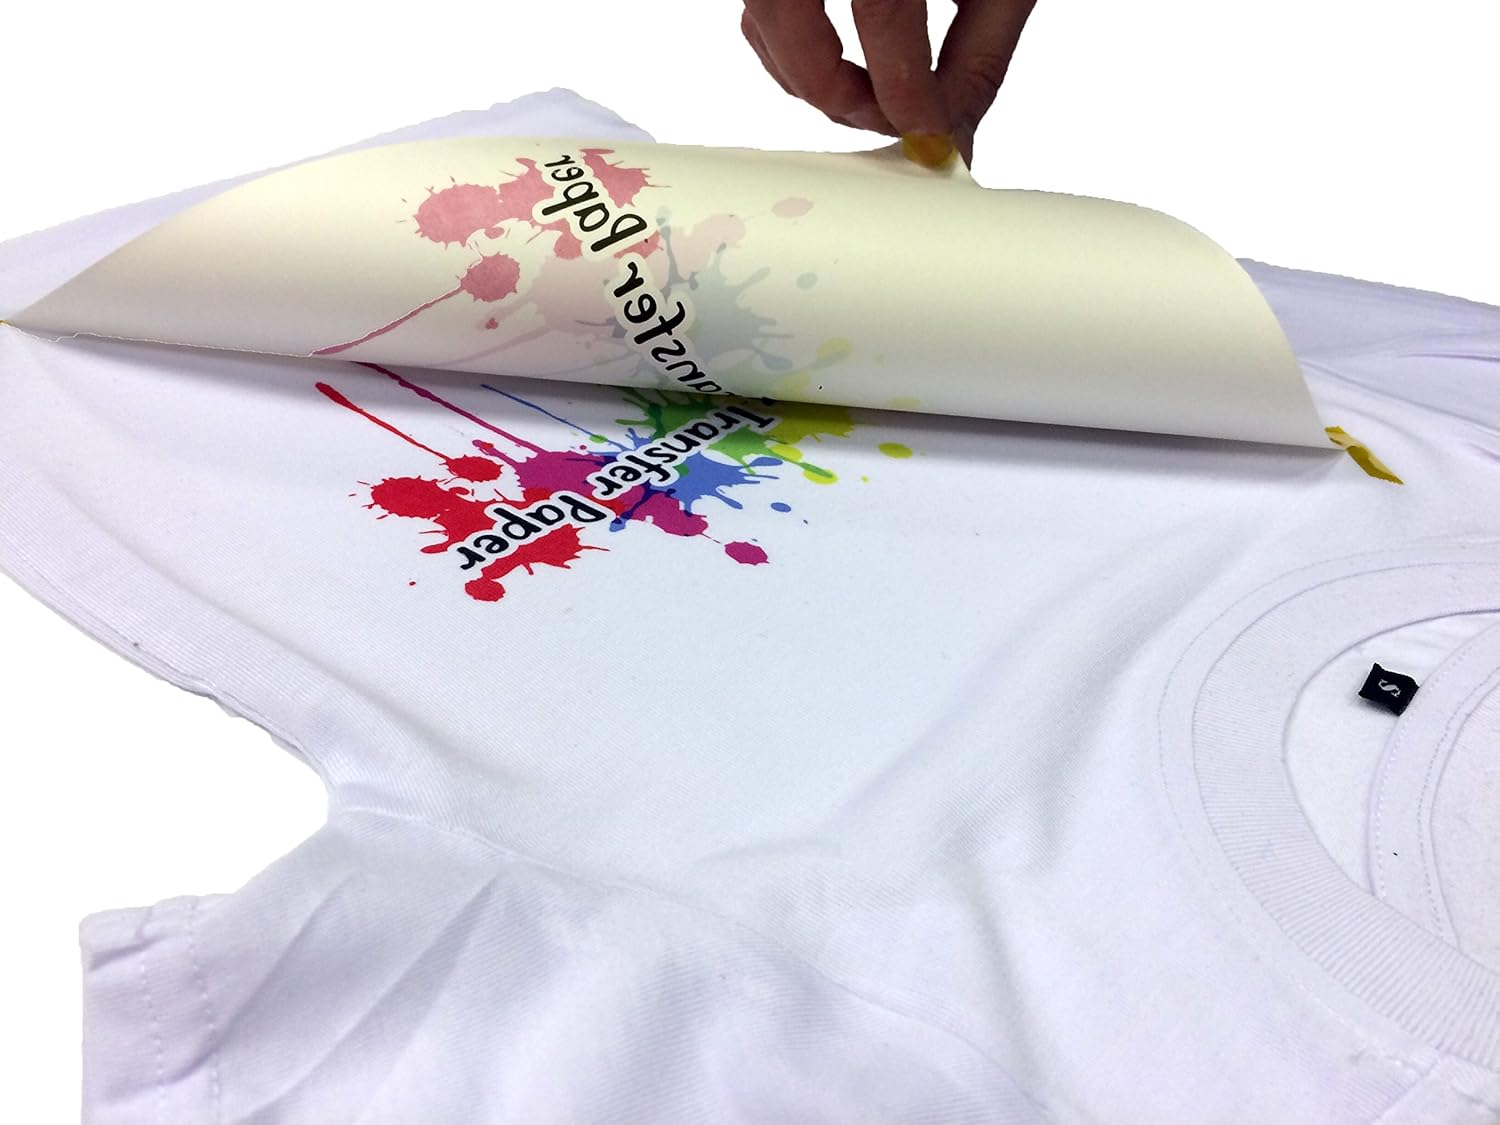
Note, that, like with the iron-on vinyl technique, sublimation transfers mirror image. It could not matter for photos. But, if you have text in your image, or you would like to have just text on your printed image, you need to flip horizontal and mirror image in your design software.
After you created your design, you can go to printer settings: choose Plaine paper or Matte paper and set output quality to the highest possible. Now you are ready to create your sublimation prints.
Sublimation crafting
Your printer is ready and filled with special ink. Your design is ready and printed out. Your press is pre-heated. So now all the preparations are done, we can get to create sublimation crafts.
- Put a Teflon sheet on a flat surface.
- Cover it with butcher paper to protect it from the dye.
- Put your blank on top of the Teflon sheet and butcher paper. Make sure that the Teflon sheet is bigger than your blank.Note: if you are using a garment, like a t-shirt, hoodie, etc., don’t forget to put butcher paper inside your garment. This way, inks won’t transfer to the back of your t-shirt or hoodie.
- If you use a t-shirt, pillowcase, or any other blank made of woven material, use a lint roller to make it clean.Note: preheat blanks out of woven material with your press for about 5-10 seconds to remove extra moisture from them. Let the material cool down before you transfer.
- Then tape paper with your printed design facing down. Don’t forget to use special heat-resistant tape. This way it won’t move and there will be no ghosting of the image.Note: you can use multiple images or texts on your blank. Just tape them properly.
- Cover it with parchment paper.
- Place your heat press carefully on top of the parchment paper, so it wouldn’t move the paper. Apply medium pressure for 60 seconds.Note: if your press is of a smaller size than your design, you could do it in two steps (or in as many steps, as it would be needed).
- Be careful also when removing your press. Go straight up and don’t move the paper.
- Let papers cool down or use heat-resistant gloves to remove them.
- Enjoy your first beautiful sublimation projects!
A quick review
So now when our journey is made, it’s time to look back and make a quick review.
Sublimation crafting is easy and fun. It is also space and time-saving compared to other methods of printing. It is space-saving, and it is possible to create more complex designs, compared to screen printing. You could put your design almost on everything, compared to embroidering. Your image will stay longer on, compared to the iron-on vinyl technique.

You won’t need a special printer for it – you can convert any regular printer, e.g., one of Epson printers, into a sublimation printer. Just use special infusible ink.
You can print anything – photos, images, texts – on everything: t-shirts, bags, mugs, mousepads, doormats, pillowcases, earrings, puzzles, you name it!
Read also: Difference between screen printing and sublimation.
It could look complicated at first. But step by step, you would become a pro. Just remember three main rules:
- use the right printer with the correct printer settings and special inks
- use the right heat source
- use blanks that are designed for sublimation.
Follow these rules in sublimation for beginners – they are the basics in sublimation crafting. And don’t forget to put your creativity into your crafts. Your family, friends, and clients would definitely like your gifts!
Want to know choosing the best software for sublimation printing guarantees quality prints, read in a new article.

Hi, I’m artist and sublimation printing expert. Born and raised in Anchorage, Alaska, I had passion for photography and painting from my childhood. I started my career as a sublimation print operator for a local printing company in 2012. The role exposed gave me lots of practical knowledge about printing process, from managing color profiles to ensuring print quality on various materials.
Leave a Reply